How to install a static charge grounding kit on your snowblower video
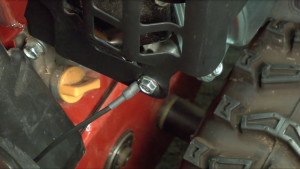

When it’s really cold and dry outside, static electricity can build up in a snowblower chute and discharge through you, giving you a nasty shock when you touch the snowblower. Sears PartsDirect sells a static charge grounding harness that’s easy to install and includes everything you need to fix that static shock problem. This video shows how to ground the chute by connecting it to the engine shroud with that kit.
For more troubleshooting advice on snowblower problems and installing replacement parts in your snowblower, see our snowblower repair help page.
Parts and tools needed
1/2-inch socket
Cable ties
Installing a static charge grounding kit
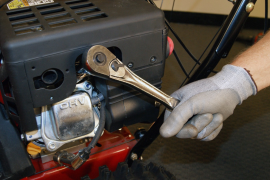
Hi, this is Wayne from Sears PartsDirect. Today we're going to install a kit to help prevent shocks from static electricity that builds up in your snowblower chute during the cold winter months. Before you start, park the snowblower in a level area and remove the ignition key. Allow the engine to cool. Use a 1/2-inch socket to remove the lock nut from the tilt mechanism on the chute. Install the larger stud terminal of the grounding harness onto the bolt. Install a washer on each side of the harness terminal connector, then reinstall the lock nut. Tighten the lock nut firmly so that the terminal doesn't rotate with the tilt mechanism.
Connect the other end of the grounding harness to the muffler shield bolt on the lower left side of the engine. Carefully bend the barrel of the terminal away from the muffler shield so that the cable isn't resting against the shield. Secure the grounding harness loosely to the chute support bracket using a 7-inch cable tie. Mark the grounding harness 18-inches from the tilt mechanism terminal. This will be the location of the farthest cable tie from the terminal. Connect the grounding cable to the front tilt cable using a 4-inch cable tie, leaving enough slack in the grounding cable to allow free movement when adjusting the chute tilt. Install 3 more evenly spaced cable ties along the grounding cable and front tilt cable to secure them together. Trim the loose ends from the cable ties.
Hey, thanks for watching. Be sure to check out our other videos, here on the Sears PartsDirect YouTube Channel, and don't forget to subscribe.
Symptoms for gas snowblowers
Choose a symptom to see related snowblower repairs.
Things to do: replace the spark plug, change the oil, rebuild the carburetor, adjust valve lash, adjust or replace the b...
Main causes: clogged chute, damaged auger blades, broken shear pins, worn auger belt, damaged gear case, engine problems...
Main causes: dirty carburetor, stale fuel...
Main causes: punctured tire, damaged rim...
Main causes: dirty carburetor, clogged fuel filter, dirty spark plug, incorrect valve lash, leaky engine gaskets...
Main causes: stale gas, clogged carburetor, clogged or broken fuel line, dirty spark plug, bad rewind starter, incorrect...
Main causes: loose drive clutch cable, damaged drive clutch cable, worn friction disc, scraper blade scraping the ground...
Main causes: snow build-up in chute, chute drive mechanism failure, bad chute control assembly...
Main causes: clogged chute, snow build-up in auger housing, broken auger shear pins, auger drive belt needs adjustment, ...
Repair guides for gas snowblowers
These step-by-step repair guides will help you safely fix what’s broken on your snowblower.
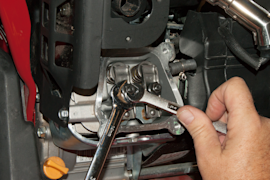
How to adjust snowblower engine valve lash
Adjust the engine valve lash on your snowblower to keep the engine starting and running smoothly....

How to adjust snowblower skid shoes
To prevent snowblower auger and shave plate damage, adjust the skid shoes regularly to keep the shave plate ¼-inch high....
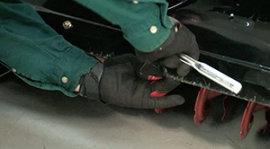
How to replace a snowblower shave plate
Follow the 7 easy steps in this repair guide/video to replace a worn out shave plate on your snowblower....
Articles and videos for gas snowblowers
Use the advice and tips in these articles and videos to get the most out of your snowblower.
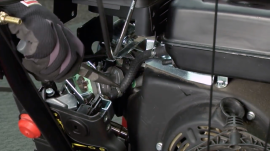
Get an overview of the main steps in a snowblower tune-up and click to videos with more details....
Get your snowblower ready for winter before winter arrives, so you don't have to mess with it while snow piles up....
Protect your snowblower's engine and body by preparing it for after-season storage....