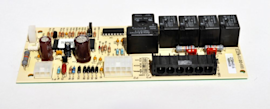
How to replace a freestanding ice maker electronic control board
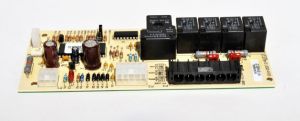
This DIY repair guide explains how to replace the electronic control board in a freestanding ice maker. The electronic control board is the "brains" of the ice maker, activating components such as the compressor, water inlet valve and pumps as needed to make ice. When the electronic control board stops working, the ice maker won't recirculate water or make ice.
Because problems with parts other than the electronic control board can have the same symptoms, have a local ice maker repair expert test the electronic control board to confirm that it's the cause. If the control board isn't working, replace it with the manufacturer-approved freestanding ice maker part.
This repair procedure works to replace the electronic control board in Kenmore, KitchenAid, Whirlpool, JennAir, GE, Frigidaire and Maytag freestanding ice makers.
Instructions
- 01.
Disconnect power
Remove any ice that is in the storage bin of the ice maker and store it in a separate container during this repair.
Cover the drain hole at the bottom of the ice storage bin with a cloth to prevent hardware from falling inside.
Unplug the ice maker or shut off the house circuit breaker to disconnect electrical power.
- 02.
Remove the cutter grid cover
Open the ice maker and remove the screws from the bottom of the cutter grid cover.
Pull the cutter grid cover out and set it aside.
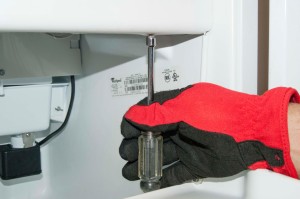
PHOTO: Remove the cutter grid cover screws.
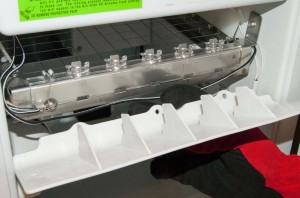
PHOTO: Remove the cutter grid cover.
- 03.
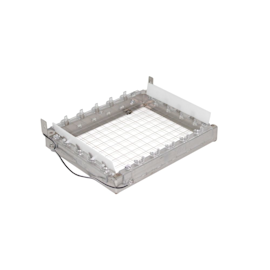
Remove the cutter grid
Remove the hex-head mounting screws from both sides of the cutter grid.
Pull the cutter grid down slightly to access the cutter grid wire harness connection.
Disconnect the cutter grid wire harness connector from the bottom of the control housing.
Pull the cutter grid out of the ice maker.
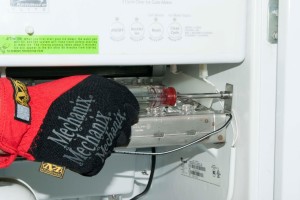
PHOTO: Remove the cutter grid mounting screws.
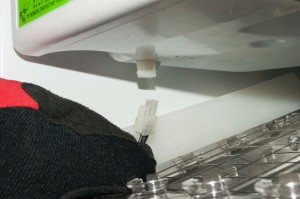
PHOTO: Unplug the cutter grid wire harness.
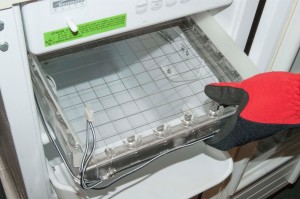
PHOTO: Remove the cutter grid.
- 04.
Release the control housing
Remove the 1/4-inch, hex-head mounting screws from the corners of the control housing.
Lower the control housing, leaving the wires attached to the control components in the housing.
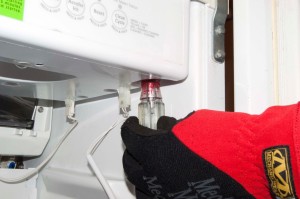
PHOTO: Remove the screw from the control board housing.
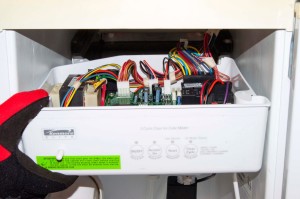
PHOTO: Lower the control board housing.
- 05.
Remove the electronic control board
Take a digital photo of the wires connected to the electronic control board so you can reconnect them correctly.
Disconnect the wires from the electronic control board.
Remove the mounting screws that secure the electronic control board in the control housing and remove the electronic control board.
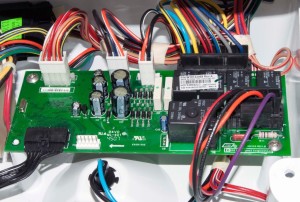
PHOTO: Take a digital photo of the control board wiring.
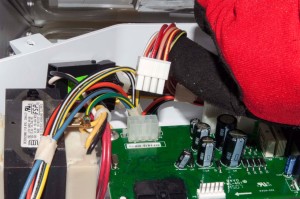
PHOTO: Disconnect the control board wires.

PHOTO: Remove the control board.
- 06.
Install the new electronic control board
Position the new electronic control board in the housing and secure it with the mounting screws.
Using your digital photo as a guide, reconnect the wires on the electronic control board.
- 07.
Reinstall the control housing
Position the control housing correctly in the ice bin and secure it with the mounting screws.
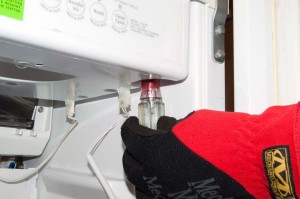
PHOTO: Reinstall the control board housing.
- 08.
Reinstall the cutter grid and cutter grid cover
Push the cutter grid into the ice maker and plug the cutter grid wire harness into the connector in the bottom of the control housing.
Line up the mounting screw holes and reinstall the hex-head mounting screws that secure the cutting grid to the side walls inside the ice maker.
Position the cutter grid cover in front of the cutter grid and secure it with the mounting screws.
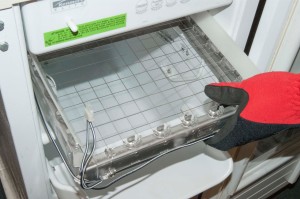
PHOTO: Push the cutter grid back in.
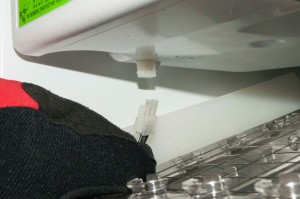
PHOTO: Plug in the cutter grid wire harness.
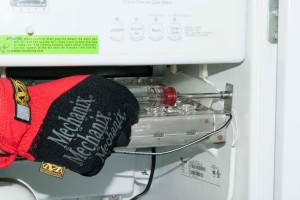
PHOTO: Reinstall the cutter grid mounting screws.
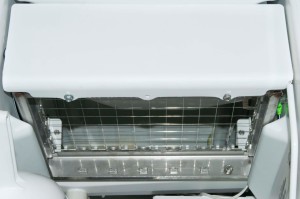
PHOTO: Reinstall the cutter grid cover.
- 09.
Restore power
Plug the ice maker back into the wall outlet or reset the house circuit breaker to restore power.
- 10.
Fill the ice storage bin
Remove the cloth that was used to cover the drain hole in the ice storage bin.
Fill the ice bin with ice that was stored in a separate container during this repair.
Note: If you have a Frigidaire ice maker and need help completing this repair, schedule [Frigidaire ice machine repair](https://www.searshomeservices.com/repair/frigidaire/ice-maker-freestanding) and we'll send a Sears Home Services technician to your home to fix the problem.
Most common symptoms to help you fix your freestanding ice makers
Choose a symptom to see related ice maker repairs.
Main causes: failing compressor, bad condenser fan motor, faulty drain pump, bad recirculation pump, water supply proble…
Main causes: dirty evaporator plate, untreated water supply, food items being stored in ice storage bin…
Main causes: wiring failure, broken cutting grid, faulty electronic control board…
Main causes: bad electronic control board, water supply problems, faulty recirculation pump, sealed system failure, brok…
Main causes: cracked water supply line, leaky drain line, broken drain pump, cracked water reservoir, leaky ice bin…
Main causes: bad bin thermistor, condenser fan failure, faulty control board…
Main causes: water supply problems, control board failure, weak recirculation pump, clogged water distributer, faulty cu…
Main causes: lack of electrical power, bad power cord, wiring failure, bad control board, faulty bin thermistor, bad eva…
Most common repair guides to help fix your freestanding ice makers
These step-by-step repair guides will help you safely fix what’s broken on your ice maker.
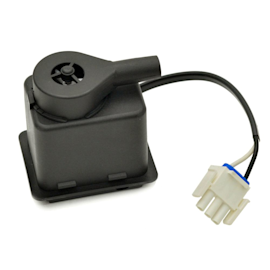
How to replace a freestanding ice maker recirculation pump
If your ice maker isn’t making ice, the pump could be the problem. Here’s how to replace it. …
How to replace a freestanding ice maker electronic control board
When the electronic control board won’t activate the ice maker components, follow these steps to install a new one.…
How to replace a freestanding ice maker cutter grid
When the cutting grid is broken, ice cubes don’t drop into the ice bin. Use the steps in this repair guide to replace a…
Effective articles & videos to help repair your freestanding ice makers
Use the advice and tips in these articles and videos to get the most out of your ice maker.

Learn about all the convenient features on our Sears PartsDirect website that make your parts purchases easier.…

Get answers to frequently asked questions about Sears and Sears PartsDirect.…
See what troubleshooting steps to take with your freestanding ice maker before calling for repair.…