How to replace a snowblower fuel filter
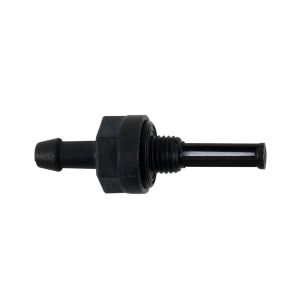
This DIY repair guide shows how to replace the fuel filter on a snowblower. The fuel filter attaches to the fuel tank and screens out dirt and rust particles from gasoline.
If the fuel filter is clogged, gas can't flow to the carburetor, and the snowblower might not start. Replace the fuel filter with the manufacturer-approved replacement part if it's clogged or damaged.
Follow this general repair procedure for any brand and type of snow thrower that has a fuel filter at the bottom of its gas tank.
The fuel filter in many snow throwers should be changed at least once per season. Follow the directions in the owner's manual for replacing the fuel filter if the procedure differs from the process shown in this guide.
This DIY repair guide shows how to replace the fuel filter 951-10651 on common Craftsman, MTD and Murray snowblowers with these models of engines:
This video explains how to replace the fuel filter on a snowblower.
Instructions
- 01.
Drain the fuel tank and disconnect the spark plug wire
Drain the fuel from the tank or run the snowblower until the tank is empty.
Position the snowblower in a well-ventilated area.
Pull the spark plug wire up and off the plug.
- 02.
Remove the electric starter switch
Remove the mounting screws and pull the starter switch off the bracket.
Let the starter switch hang by the electrical cord.
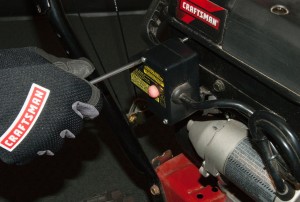
PHOTO: Remove the electric starter switch.
- 03.
Remove the engine shroud
Remove the key.
Pull off the choke and throttle knobs. Remove the acorn nuts that secure the carburetor to the engine.
Remove the muffler shroud mounting screws.
Work the engine shroud off the carburetor mounting studs, leaving the primer hose and breather hose connected.

PHOTO: Remove the key.

PHOTO: Pull off the throttle knob.
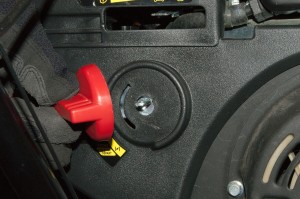
PHOTO: Remove the choke knob.
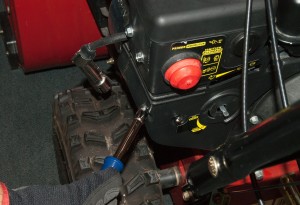
PHOTO: Remove the acorn nuts.
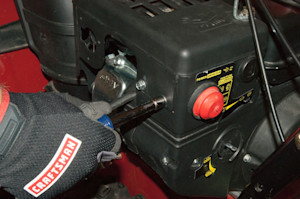
PHOTO: Remove the muffler shroud screws.
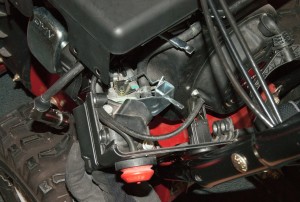
PHOTO: Pull out the engine shroud.
- 04.
Remove the fuel filter
Release the fuel line clamp and pull the fuel line off the fuel filter.
Unscrew the fuel filter from the tank and remove it.
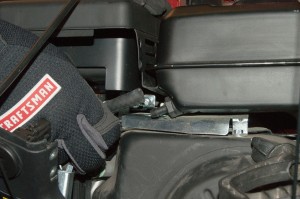
PHOTO: Pull the fuel line off the fuel filter.
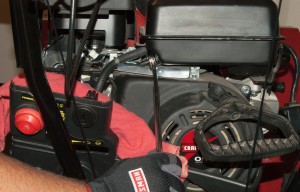
PHOTO: Unscrew the fuel filter.
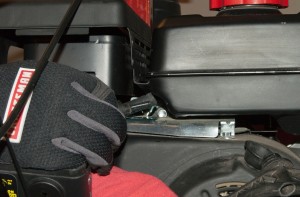
PHOTO: Remove the fuel filter from the tank.
- 05.
Install the new fuel filter
Screw the new fuel filter into the tank and tighten it firmly.
Reconnect the fuel line and secure it using the clamp.
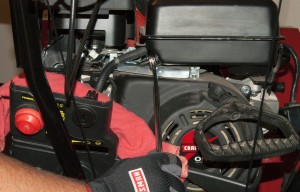
PHOTO: Screw the new fuel filter into the tank and tighten it.
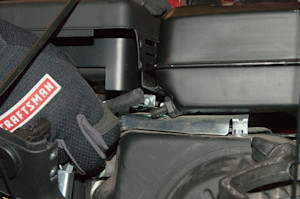
PHOTO: Reconnect the fuel line to the fuel filter.
- 06.
Reinstall the engine shroud
Pull off the muffler shroud before reinstalling the engine shroud.
Remove the belt cover mounting bolts and pull off the belt cover.
Remove the bolts from the red chute support bracket and pull the support bracket forward, releasing the control rod from the 4-way control rod receiver.
Remove the front muffler shroud mounting bolts.
Release the wire control cables from the retainer clip and pull off the muffler shroud.
Align the choke knob shaft and the 2 carburetor mounting posts with the openings on the engine shroud and work the engine shroud onto the engine. Make sure that the breather hose passes through the opening and lines up with the rocker cover breather hose fitting.
Slide the breather hose over the rocker cover fitting and secure the hose with the clamp.
Reinstall the 2 acorn nuts to secure the engine shroud to the engine.
Slide the wire control cables into the retainer clip and position the muffler shroud on the engine.
Reinstall the muffler shroud mounting bolts.
Push the control rod back into the 4-way control rod receiver and line up the support bracket with the mounting holes.
Reinstall the bolts in the red chute support bracket.
Reinstall the belt cover using the mounting bolts.
Reinstall the choke and throttle knobs.
Tip: Removing the muffler shroud is necessary because the engine shroud fits under the bottom lip of the muffler shroud. You can remove the engine shroud without removing the muffler shroud but the muffler shroud must be removed for reassembly.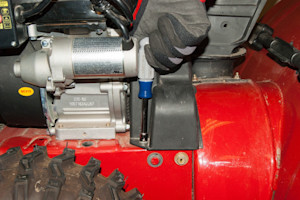
PHOTO: Remove the belt cover bolts.
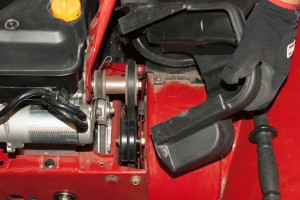
PHOTO: Remove the belt cover.
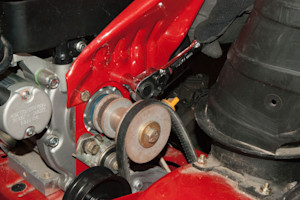
PHOTO: Remove the chute support bolts.
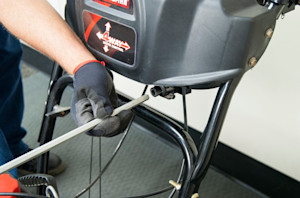
PHOTO: Release the control rod.
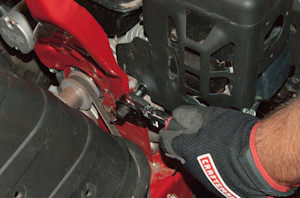
PHOTO: Remove the muffler shroud bolts.
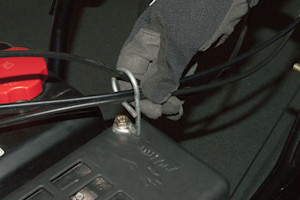
PHOTO: Release the control cable.
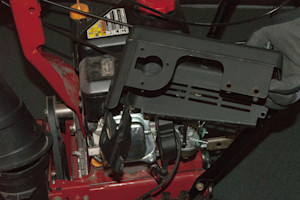
PHOTO: Remove the muffler shroud.
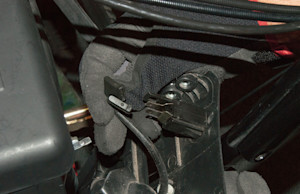
PHOTO: Reconnect the stop switch wires.
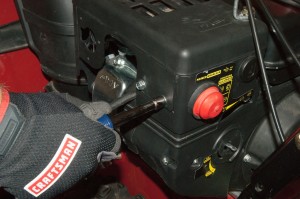
PHOTO: Reinstall the muffler shroud.
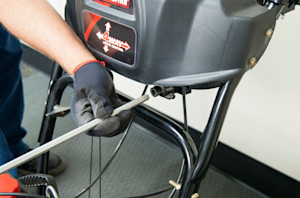
PHOTO: Reinstall the control rod.
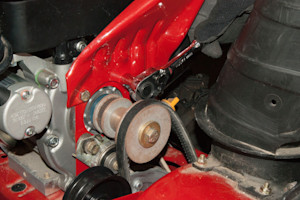
PHOTO: Reinstall the chute support bracket.
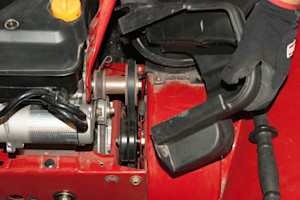
PHOTO: Reinstall the belt cover.
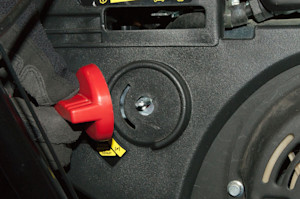
PHOTO: Reinstall the choke knob.
- 07.
Reinstall the electric starter switch
Position the electric starter switch on the switch bracket and reinstall the mounting screws.
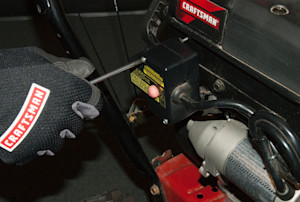
PHOTO: Reinstall the starter switch.
- 08.
Reconnect the spark plug
Reconnect the spark plug wire.
- 09.
Reinstall the key
Push the key into the slot.
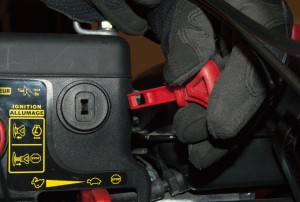
PHOTO: Insert the key.
Symptoms for gas snowblowers
Choose a symptom to see related snowblower repairs.
Things to do: replace the spark plug, change the oil, rebuild the carburetor, adjust valve lash, adjust or replace the b…
Main causes: clogged chute, damaged auger blades, broken shear pins, worn auger belt, damaged gear case, engine problems…
Main causes: dirty carburetor, stale fuel…
Main causes: punctured tire, damaged rim…
Main causes: dirty carburetor, clogged fuel filter, dirty spark plug, incorrect valve lash, leaky engine gaskets…
Main causes: stale gas, clogged carburetor, clogged or broken fuel line, dirty spark plug, bad rewind starter, incorrect…
Main causes: loose drive clutch cable, damaged drive clutch cable, worn friction disc, scraper blade scraping the ground…
Main causes: snow build-up in chute, chute drive mechanism failure, bad chute control assembly…
Main causes: clogged chute, snow build-up in auger housing, broken auger shear pins, auger drive belt needs adjustment, …
Repair guides for gas snowblowers
These step-by-step repair guides will help you safely fix what’s broken on your snowblower.
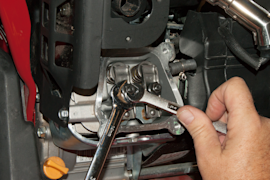
How to adjust snowblower engine valve lash
Adjust the engine valve lash on your snowblower to keep the engine starting and running smoothly.…

How to adjust snowblower skid shoes
To prevent snowblower auger and shave plate damage, adjust the skid shoes regularly to keep the shave plate ¼-inch high.…
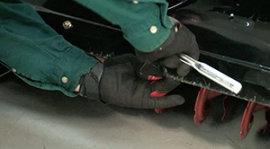
How to replace a snowblower shave plate
Follow the 7 easy steps in this repair guide/video to replace a worn out shave plate on your snowblower.…
Effective articles & videos to help repair your snowblowers
Use the advice and tips in these articles and videos to get the most out of your snowblower.
Learn the steps to take to adjust and maintain your snowblower so it lasts longer.…
Learn about Sears Technical Institute and the advanced technical content being developed for aspiring appliance techs.…

Get answers to frequently asked questions about Sears and Sears PartsDirect.…