CONFIRM THE PART FITS
Part Information
Special details: Transfer the model selection jumper wire from the old washer control board to new control board WH12X10614 during part installation.
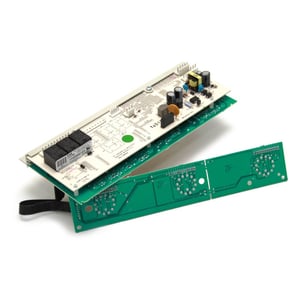
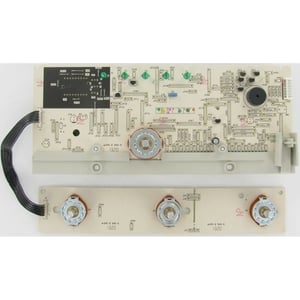
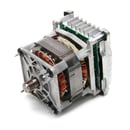
This electronic control board (part number WH12X10614) is for washers.
Electronic control board WH12X10614 manages the washer's functions such as filling, washing, draining and spinning.
Unplug the washer before installing this part. Wear work gloves to protect your hands.
Special details: Transfer the model selection jumper wire from the old washer control board to new control board WH12X10614 during part installation.
Frequently Used Together
- $10.51 |16% OFF Phone Price : $12.51
- $50.49 |11% OFF Phone Price : $56.49
- $102.97 |10% OFF Phone Price : $114.97
- $29.01 |17% OFF Phone Price : $35.01
- $32.20 |16% OFF Phone Price : $38.20
- $339.68 |$12.00 OFF Phone Price : $351.68
- $59.70 |9% OFF Phone Price : $65.70
- $213.37 |5% OFF Phone Price : $225.37
Top models using the same part
| Model Name | Model Number | Diagram Name |
|---|---|---|
| Model #GTAN4250D1WW GE washer | GTAN4250D1WW | Controls & backsplash |
| Model #GTWN4250D1WS GE washer | GTWN4250D1WS | Controls & backsplash |
| Model #GHWN4250D0WW GE washer | GHWN4250D0WW | Controls & backsplash |
| Model #GTAN4250D2WW GE washer | GTAN4250D2WW | Controls & backsplash |
| Model #GTWN4250D2WS GE washer | GTWN4250D2WS | Controls & backsplash |
| Model #GTWP2250D1WW GE washer | GTWP2250D1WW | Controls & backsplash |
| Model #GTWP2250D0WW GE washer | GTWP2250D0WW | Controls & backsplash |
| Model #GHWN4250D2WW GE washer | GHWN4250D2WW | Controls & backsplash |
| Model #GMAN4250F0WS GE washer | GMAN4250F0WS | Controls & backsplash |
| Model #GHWN4250D1WW GE washer | GHWN4250D1WW | Controls & backsplash |
Reviews
Easy to install
It took less than 15 minutes to install the assembly. The only tool needed was a nut driver to remove / install 3 screws on the back panel
Corley650, Mississippi
Did you find this review helpful?
- Ease of Installation
- Very Easy
- Duration of Installation
- Less than 30 minutes
Yes, I would recommend this to a friend
Easy to Install Components
Replacing the onboard master control panel. MAKE SURE UNIT IS UNPLUGGED. Remove top three rear screws on back of the washing machine, then pull up on front panel slowly and slide front panel to the right and remove. Once front panel is removed. Unplug wire cables to control panel then remove five screws that support panel boards. Replace with new Control panel boards and reinstall control knobs after board is secured in place. Then make sure all cable wires are placed out of the way of the front panel so as to not get pinched to avoid wire damage. Slide panel back in place and once locked down then replace the three rear screws on the washer, and plug unit back up and test.
Phoenix_Rising, Alabama
2 people thought this review was helpful.
- Ease of Installation
- Very Easy
- Duration of Installation
- 30 minutes - 1 hour
