How to care for filters in a Whirlpool hybrid heat pump dryer


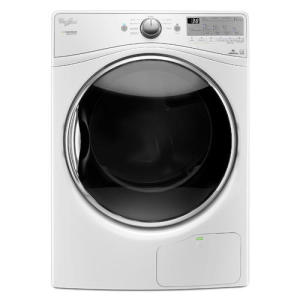
Maintenance of a Whirlpool hybrid heat pump dryer is vital to its operating performance and the life of the dryer. Unlike a standard dryer, the Whirlpool hybrid dryer has three screens that require routine cleaning: the primary lint screen, the HybridCare filter and lint screen, and the cooling fan screen.
Primary lint screen
The primary lint screen is located in the dryer opening. After every load, remove the lint screen and clean it. Pull the lint screen straight up and out. Press the tab down and open the lint screen, and roll the lint off with your fingers. Push the lint screen firmly back in place when done.
Over time, fabric softeners can cause a buildup of residue on the lint screen. Clean the screen with a nylon brush every six months, or more frequently if needed. If the screen becomes completely clogged, clean the screen with warm, soapy water and a nylon brush to gently remove the residue. Rinse the filter thoroughly and let the filter dryer completely before replacing.
HybridCare filter and lint screen
You can find the HybridCare filter in the bottom corner of the dryer. Clean the filter after every 5 loads. Open the filter door, lift the handle up and pull the filter out. Place the filter on the dryer and remove the lint screen and foam pad from the back of the filter. Remove the lint from the screen and pad using your fingers.
If lint still remains on the screen and pad, remove it with warm, soapy water and a nylon brush. Rinse with warm water. Clean the filter housing and mesh with a soft brush, damp cloth or vacuum cleaner. Once a month, clean the screen at the back of the filter housing with a damp cloth or vacuum cleaner.
Put the lint screen and foam pad back in the filter and place the filter back in the dryer cabinet, making sure the handle is downward to lock it in place. If the filter is not inserted properly, an error code of LF will display.
Cooling fan screen
The cooling fan screen is located on the back lower right of the dryer. Once a month, pull the dryer away from the wall and clean the screen using a soft brush or a vacuum cleaner with a brush attachment.
Never run the dryer with a loose, damaged, blocked or missing filter. This will cause the dryer to overheat, causing damage to the dryer and to fabrics.
Most common symptoms to help you fix your dryers
Choose a symptom to see related dryer repairs.
Main causes: bad gas valve coils, broken heating element, tripped safety thermostat or fuse, bad operating thermostat, c…
Main causes: bad timer or electronic control board, door switch failure…
Main causes: lack of electrical power, bad power cord, wiring failure, bad control board, blown thermal fuse, bad door s…
Main causes: clogged exhaust vent, bad motor relay, loose dryer door catch, bad door switch, control system failure, fau…
Main causes: damaged door strike, worn door catch…
Main causes: bad drum support roller, damaged idler pulley, broken blower fan blade, worn drum glide bearing, bad drive …
Main causes: clogged exhaust system, heating system failure, deposits on moisture sensor, control system failure…
Main causes: door switch failure, lack of power, broken belt, blown thermal fuse, bad drive motor, control system failur…
Most common repair guides to help fix your dryers
These step-by-step repair guides will help you safely fix what’s broken on your dryer.

How to replace a thermal fuse in an electric dryer
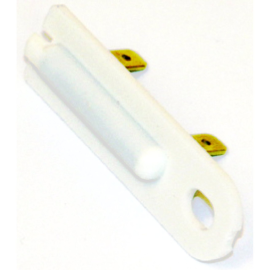
When the air in the dryer overheats—usually because the vent is clogged—the thermal fuse blows, stopping the dryer. You …

How to install a thermal cut-off fuse kit in an electric dryer
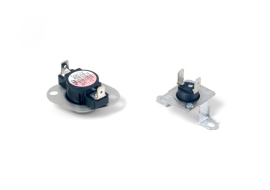
The thermal cut-off fuse shuts off the heat if the dryer overheats when the high-limit thermostat fails. Install a ther…

How to replace a dryer door switch
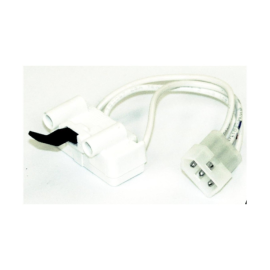
The dryer won't start if the door switch isn't working correctly. You can install a replacement dryer door switch in les…
Effective articles & videos to help repair your dryers
Use the advice and tips in these articles and videos to get the most out of your dryer.

Get expert tips on using your dryer efficiently to save energy.…

Learn about all the convenient features on our Sears PartsDirect website that make your parts purchases easier.…

Get answers to frequently asked questions about Sears and Sears PartsDirect.…
