- Kenmore refrigerator water filters
- Whirlpool refrigerator water filters
- Samsung refrigerator water filters
- GE refrigerator water filters
- LG refrigerator water filters
- Frigidaire refrigerator water filters
- KitchenAid refrigerator water filters
- Maytag refrigerator water filters
- Kenmore Elite refrigerator water filters
- Estate refrigerator water filters
- GE Profile refrigerator water filters
- Amana refrigerator water filters
- Bosch refrigerator water filters
- Dacor refrigerator water filters
- Electrolux refrigerator water filters
How to adjust an elliptical reed switch
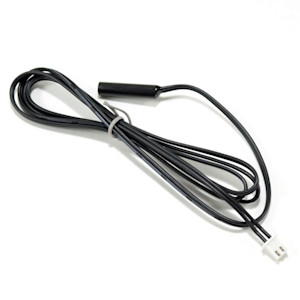
The reed switch is attached to the frame, where it senses a magnet on the rotating pulley to detect the elliptical's speed. The reed switch transmits the speed signal to the console, which displays the speed. If the console doesn't display the correct speed, the reed switch may not be close enough to detect the magnet as it passes. Adjust the reed switch alignment following the steps in this DIY repair guide.
This repair guide covers ProForm, Weslo, NordicTrack and Image elliptical exercisers.
Quick links
Video
Instructions
Tools required
Work gloves
Slot screwdriver
Phillips screwdriver
Allen wrench
Repair difficulty
Time required
15 minutes or less
Repair difficulty
Time required
15 minutes or less
Adjusting the reed switch on an elliptical
This video explains how to adjust the reed switch on an elliptical.
Instructions
- 01.
Release the lower upright cover
Pry up the lower upright cover using a slot screwdriver.
Slide the lower upright cover up on the upright to release it from the side shields.
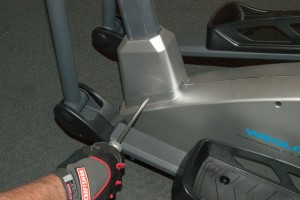
PHOTO: Pry the cover up to release.
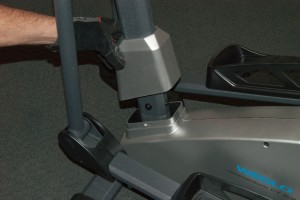
PHOTO: Slide the cover up.
- 02.
Remove the left pedal arm
Remove the left pedal arm cover screw and pull the left pedal arm cover off.
Using an Allen wrench, remove the screw from the left crank arm by turning it clockwise because it is reverse threaded.
Pull the left pedal arm and washers off the crank arm shaft and push the pedal arm forward.
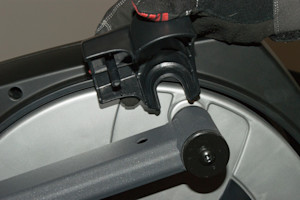
PHOTO: Remove the left pedal arm cover.
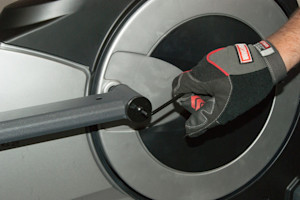
PHOTO: Remove the Allen screw.
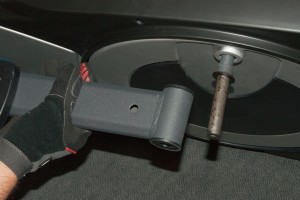
PHOTO: Pull the pedal arm off.
- 03.
Remove the left shield
Remove the screws from the left and right side shields.
Remove the left side shield.
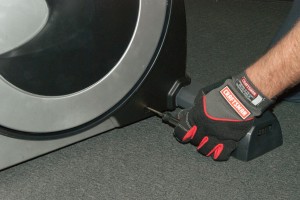
PHOTO: Remove the screws.
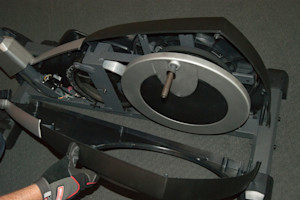
PHOTO: Remove the left shield.
- 04.
Adjust the reed switch
Loosen but don't remove the reed switch mounting screw.
Rotate the pulley to align the magnet with the reed switch.
Adjust the reed switch gap to about 1/8-inch from the pulley magnet.
Tighten the reed switch mounting screw.
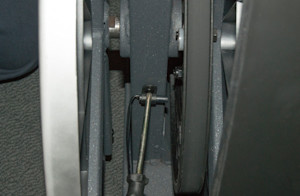
PHOTO: Loosen the reed switch screw.
- 05.
Test the reed switch
With the console off, rotate the pulley to move the magnet past the reed switch to see if the display lights up.
If the display lights up, the reed switch is properly detecting the magnet and the adjustment is complete.
Readjust the reed switch if the console does not light up.
- 06.
Reinstall the left shield
Line up the side shields.
Reinstall the shield mounting screws.
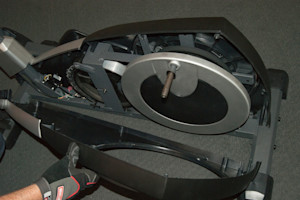
PHOTO: Reinstall the side shield.
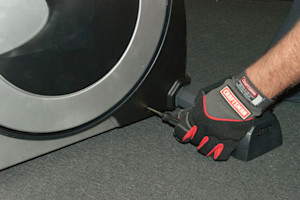
PHOTO: Reinstall the screws.
- 07.
Reinstall the left pedal arm
Push the left pedal arm over the end of the crank arm shaft.
Reinstall the D-washer on the crank arm shaft.
Slide the lock washer and flat washer on the Allen screw.
Reinstall the Allen screw into the crank arm and tighten it counterclockwise because it's reverse-threaded.
Position the pedal arm cover over the crank arm shaft.
Reinstall the pedal arm mounting screw.
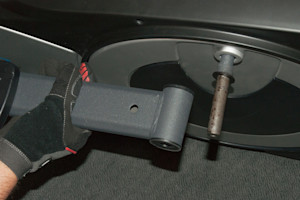
PHOTO: Reinstall the pedal arm.
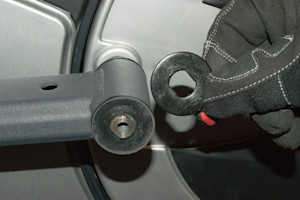
PHOTO: Reinstall the D-washer.
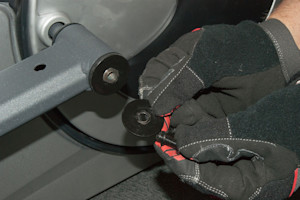
PHOTO: Reinstall the Allen screw.
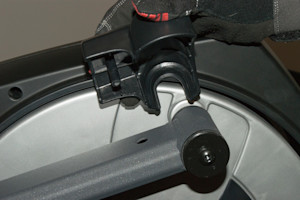
PHOTO: Reinstall the pedal arm cover and screw.
- 08.
Reinstall the lower upright cover
Slide the lower upright cover down the upright and snap it over the side shields.
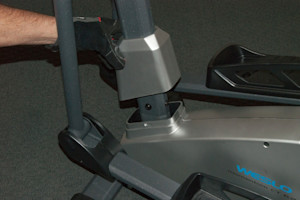
PHOTO: Reinstall the upright cover.
Warning: Undertaking repairs to appliances can be hazardous. Use the proper tools and safety equipment noted in the guide and follow all instructions. Do not proceed until you are confident that you understand all of the steps and are capable of completing the repair. Some repairs should only be performed by a qualified technician.
Symptoms for elliptical machines
Choose a symptom to see related elliptical repairs.
Main cause: lack of lubrication on pivot points…
Main causes: faulty reed switch, reed switch needs adjustment, wiring failure, bad control console…
Main causes: dirty heart rate sensors, wiring failure, bad control console…
Main causes: dead batteries, power supply failure, bad wiring connections, faulty control console…
Main causes: loose fastening bolts, damaged handle bars…
Main causes: weak batteries, loose wires, faulty control console…
Main causes: leveling feet need to be adjusted, loose frame bolts, unstable flooring…
Main causes: bad resistance motor, faulty control console, wiring failure…
Repair guides for elliptical machines
These step-by-step repair guides will help you safely fix what’s broken on your elliptical.
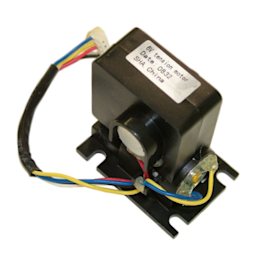
How to replace an elliptical resistance motor
If the resistance motor is not changing the resistance on your elliptical, replace it using these steps.…
Repair difficulty
Time required
15 minutes or less
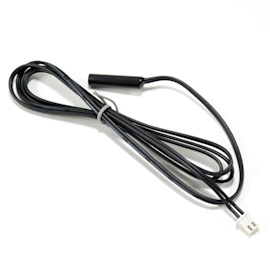
How to adjust an elliptical reed switch
If the console doesn't display the correct speed on your elliptical, adjust the reed switch using these steps.…
Repair difficulty
Time required
15 minutes or less

How to replace an elliptical console
If the console on your elliptical doesn't work, replace it by following these 3 easy steps.…
Repair difficulty
Time required
15 minutes or less
Effective articles & videos to help repair your fitness & exercise
Use the advice and tips in these articles and videos to get the most out of your elliptical.

Get answers to frequently asked questions about Sears and Sears PartsDirect.…